
Steps and Materials for Sprinter Oil Change
When it comes to simpler maintenance areas for your custom Sprinter van, you have two primary choices: Use any handy skills you have to complete these tasks on your own, or take your Sprinter to a fleet shop for service.
At Warner Vans of Utah, we support either choice you make. Our fleet shop professionals are always here to help for issues large and small, from basic inspections to full-scale repairs. But we also support and lend advice to Sprinter owners who want to complete simpler areas on their own.
If you’re among this latter group, one of the simplest bits of maintenance you might look to accomplish yourself is the oil change – here are some basic materials and steps to take.
Materials
Changing the oil in a Sprinter van is simple and easy, just like it is for most passenger vehicles. You need just a few basic materials:
- A 13 mm socket wrench
- Rubber gloves
- Paper towels, shop towels or some other kind of cleanup towel
- An oil pan capable of holding up to three gallons of oil
- A new oil filter
- 12 quarter of the proper oil for your Sprinter van
- An oil filter wrench
Loosening Plug Bolt
Once you have your materials on hand, the first step is to loosen your oil plug bolt using the socket wrench on hand. As you do this, you have to place the oil pan underneath to collect the oil that will begin spilling out as soon as the plug bolt comes free. Some people choose to use a large bucket rather than an oil pan when changing Sprinter oil – some oil pans were designed for vehicles that take less oil, and they might overflow.
Oil Filter Changeout
Once you’ve removed the oil plug bolt, it will take several minutes for all the old oil in your tank to flow into your pan or bucket and empty the area. While this is going on, you can move back up to the top of the engine and locate the oil filter, which is usually easily visible. Use oil the wrench to loosen it, then remove the old filter, which will appear darker due to the contamination its picked up over time.
Once the filer is out, you can replace both it and the three small “O” rings found inside it. Be sure to wear gloves throughout this process, or risk massive oil deposits on your hands that will be tough to remove.
Replacing and Tightening
Place the new filter back in the proper location, then tighten it. We recommend starting with a basic by-hand tightening, then moving to the wrench to finish it off – be sure to really tighten both the oil filter and the oil plug, to the limits of your strength.
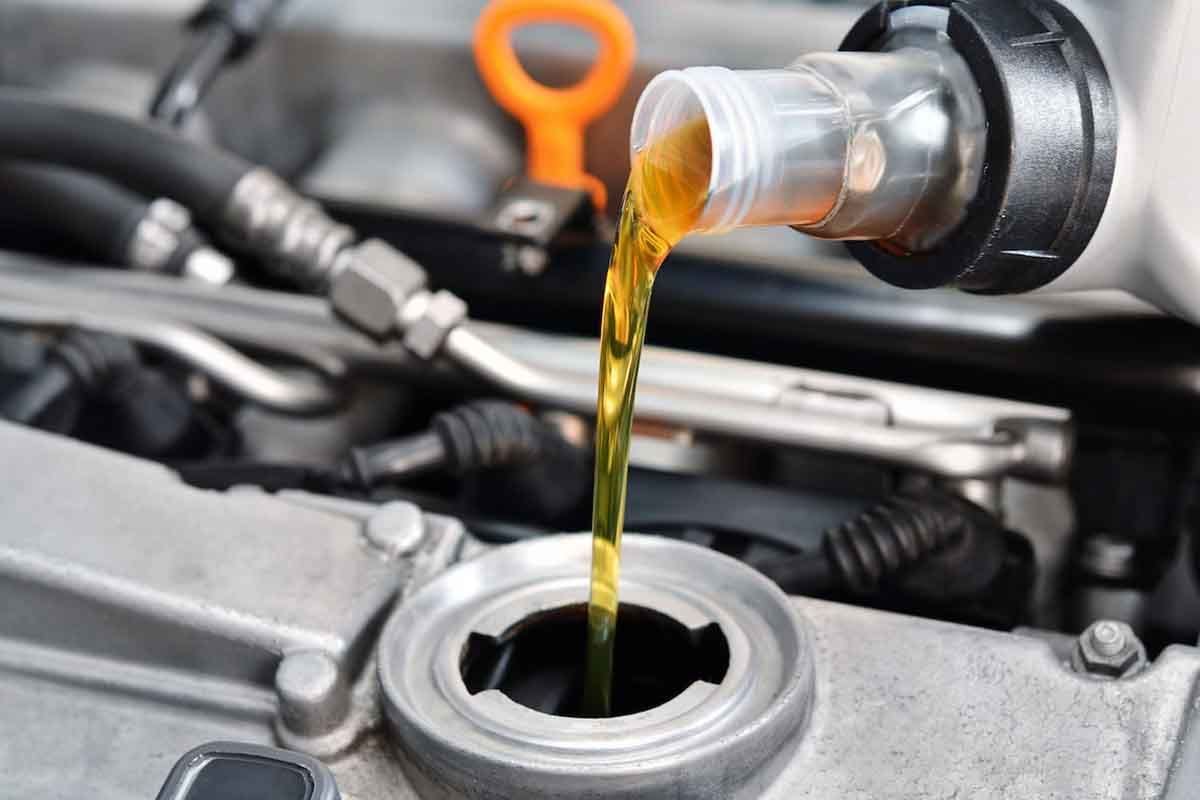
Refill the Oil
Finally, you can take the simple step of refilling your oil from the top of the engine. Make sure not to fill too much, as you’ll have to go through the process of removing the oil plug all over again to drain some out.
For more on changing your Sprinter’s oil, or to view any of our custom Sprinter vans for sale, speak to the pros at Warner Vans of Utah today.